Imagine sinking your teeth into a cupcake so tender, it feels like a cloud in your mouth. That’s what this gluten free cupcake recipe promises—moist, flavorful, and utterly irresistible. Whether you’re a seasoned baker or just starting out, this recipe is your gateway to creating treats that impress everyone, even those who are skeptical of gluten-free baking.
The secret to these cupcakes lies in their rich vanilla flavor and a texture that’s both bouncy and delicate. By combining butter and oil, we achieve an extra layer of moisture and lift, making each bite a delight. The gluten-free flour blend is carefully crafted to mimic the behavior of regular flour, ensuring that your cupcakes turn out light and fluffy every time.
What truly sets this recipe apart is the attention to detail. From proper mixing techniques to precise ingredient measurements, every step is designed to help you succeed. Each cupcake is more than just a dessert—it’s a creative experiment in the art of gluten-free baking. So why wait? Let’s dive into the process and uncover the magic behind these perfect, moist cupcakes.
Table of Contents
Introduction to Gluten-Free Cupcake Baking
Gluten-free cupcake baking is more than just a recipe—it’s an art that combines precision with creativity. What makes these treats special is the careful balance of ingredients and techniques that ensure they’re both delicious and accessible to everyone.
The journey begins with a gluten-free flour blend, a game-changer for achieving that perfect texture. Unlike traditional baking, gluten-free flours require precise measurements to ensure the right structure. Spooning and leveling ingredients is crucial—this small step makes a big difference in the final result.
The creaming method is another secret to success. By blending butter and sugar thoroughly, you incorporate air, which lightens the batter. High-quality ingredients, like real vanilla extract, elevate the flavor, making each bite a delight.
| Traditional Baking | Gluten-Free Baking |
|---|---|
| Relies on gluten for structure | Uses a blend of gluten-free flours |
| Less emphasis on precise measurements | Requires accurate measurements for best results |
| Often heavier textures | Potential for lighter, fluffier textures |
Experimenting with flavors is part of the fun! Try vanilla cupcakes for a classic taste or add cocoa powder for a chocolate twist. Simple tips like using room-temperature ingredients and an ice cream scoop for portioning can make the process smoother.
This guide will walk you through every key step, ensuring your gluten-free cupcakes turn out light and fluffy every time. With the right techniques and ingredients, you’ll create treats that are not just gluten-free but truly exceptional.

Essential Ingredients for Your Gluten Free Cupcake Recipe
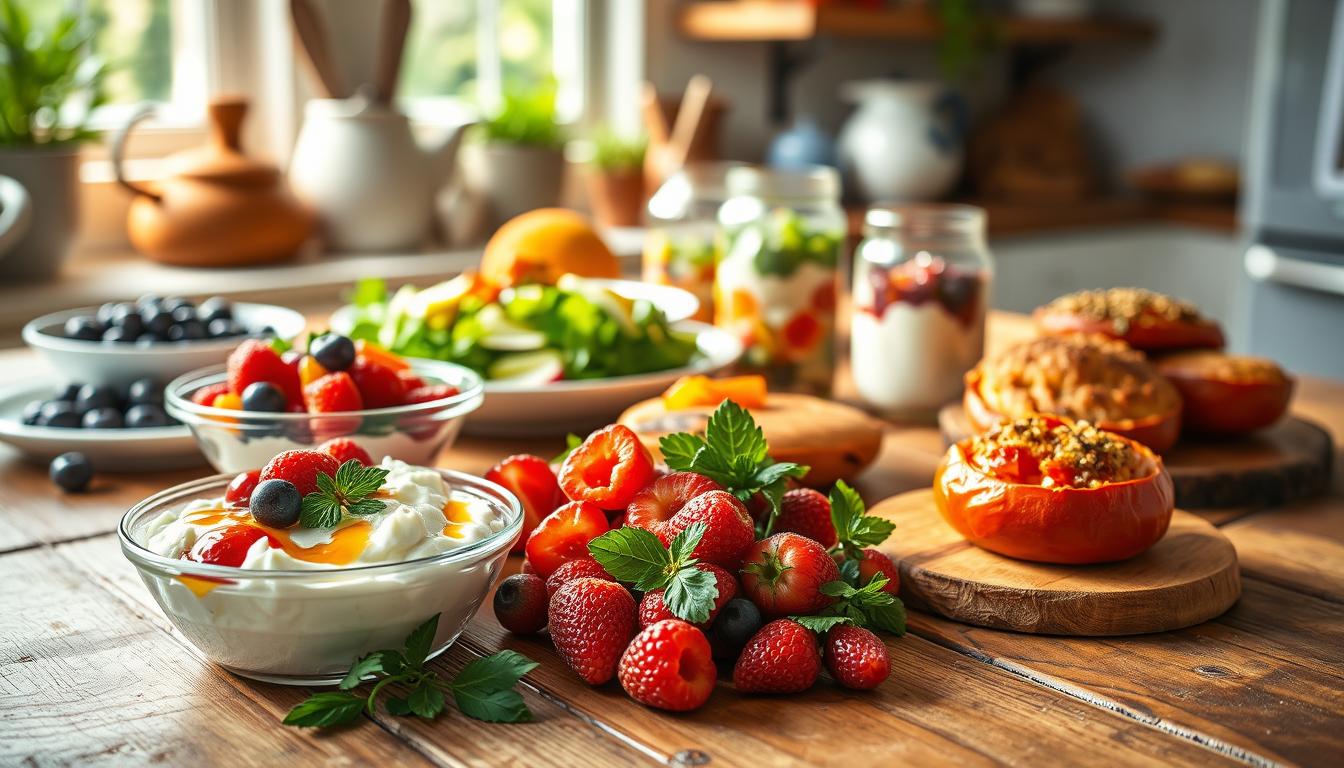
Your ingredient choices are the backbone of a successful gluten-free cupcake recipe. Each component plays a vital role in achieving that perfect balance of flavor and texture. Let’s explore the key ingredients that make your cupcakes stand out.
Gluten-Free Flour Blend Benefits
A high-quality gluten-free flour blend is the foundation of your cupcakes. Look for blends containing xanthan gum, like Bob’s Red Mill 1:1 or King Arthur Measure for Measure. These mixes help mimic traditional flour’s structure, ensuring your cupcakes are light and fluffy.
The Power of Real Vanilla and Dairy Alternatives
Real vanilla extract adds depth and intensity to your cupcakes. For dairy alternatives, consider options like almond milk or vegan butter to cater to different dietary needs. Combining butter and oil enhances moisture, while buttermilk adds richness and acts as a natural leavener.
| Ingredient | Role in Recipe |
|---|---|
| Flour Blend | Provides structure and texture |
| Vanilla Extract | Enhances flavor intensity |
| Butter & Oil | Increases moisture and lift |
| Buttermilk | Acts as a leavener and adds richness |

By carefully selecting each ingredient, you ensure your cupcakes are not only delicious but also cater to various dietary preferences. Proper mixing and measurement techniques will make your gluten-free cupcakes truly exceptional.
Using the Right Baking Tools and Equipment
When it comes to baking perfect cupcakes, having the right tools can make all the difference. Essential tools include a sturdy cupcake tin, parchment cupcake liners, and a reliable stand mixer for creaming butter and sugar. Accurate measuring tools like cups and spoons are crucial for maintaining recipe precision.
A quality oven and proper pan selection ensure even baking. Using parchment liners prevents sticking and makes removal easy. Following clear instructions helps avoid common pitfalls, ensuring your cupcakes turn out perfectly every time. Recommended brands like KitchenAid and Silpat are available at most baking supply stores.
| Tool | Role |
|---|---|
| Cupcake Tin | Holds liners and batters |
| Parchment Liners | Prevents sticking |
| Stand Mixer | Creams butter and sugar |
| Measuring Cups | Ensures precise measurements |

Step-by-Step Gluten Free Cupcake Method
Creating the perfect gluten-free cupcakes involves a few simple steps that ensure a moist and flavorful result. Follow this guide to bake like a pro!
Prepping Your Batter with the Creaming Method
Start by preheating your oven to 350°F (175°C) and line your cupcake tin with parchment liners. This ensures easy removal and prevents sticking.
- In a large bowl, cream butter and sugar for about 3 minutes until light and fluffy.
- Beat in eggs one at a time, then stir in vanilla extract for added flavor.
- Alternate adding dry ingredients (flour blend, baking powder) with buttermilk, mixing until just combined.
Baking to Perfection
Fill cupcake liners halfway to avoid overflow. Bake for 18-20 minutes, or until a toothpick inserted comes out clean. Let cool completely in the pan before frosting.
| Step | Action |
|---|---|
| 1 | Preheat oven and prepare tin |
| 2 | Cream butter and sugar |
| 3 | Add eggs and vanilla |
| 4 | Mix dry ingredients and buttermilk |
| 5 | Bake and cool |
Avoid overmixing to keep your cupcakes light and fluffy. Proper cooling ensures they hold their structure perfectly for frosting.
Tips to Ensure Moist and Fluffy Cupcakes
Achieving the perfect cupcake texture is all about mastering the basics. Temperature and mixing techniques play a crucial role in creating moist and fluffy cupcakes. By following these simple tips, you can ensure your cupcakes turn out light and delicious every time.
Temperature and Mixing Techniques
Soft, room-temperature ingredients are essential for a smooth batter. This ensures that your butter, sugar, eggs, and milk mix evenly without curdling. Using an electric mixer on medium speed helps incorporate air, giving your cupcakes a light and fluffy texture.
- Use room-temperature ingredients to avoid curdling and maximize lift.
- Mix wet and dry ingredients separately before combining them.
- Avoid overmixing, as it can deflate the batter and make cupcakes dense.
- Bake at the right temperature and use a reliable oven thermometer for consistent results.
Proper temperature control is vital both before and during baking. Ensure your oven is preheated to the correct temperature, and bake for the recommended time. Overmixing can ruin the texture, so mix just until ingredients are combined. Using quality tools like a stand mixer and accurate measuring cups will help you achieve the best results.
By following these tips, you’ll be on your way to baking cupcakes that are not only delicious but also visually appealing. Remember, attention to detail and the right techniques make all the difference in achieving that perfect moist and fluffy texture.
Achieving the Perfect Rise: Avoiding Common Pitfalls
Achieving the perfect rise in your cupcakes is a delicate balance of technique and ingredient harmony. The key to a light and airy texture lies in how well you incorporate air during the mixing process. This step is crucial for creating that signature lift that makes cupcakes so irresistible.
Incorporating Air for Extra Lift
The creaming method is your best friend here. By blending butter and sugar thoroughly, you trap air pockets that give your cupcakes their rise. However, there are common pitfalls to watch out for. Overmixing, for instance, can deflate the batter, leading to dense cupcakes. Similarly, using ingredients that aren’t at room temperature can hinder proper aeration.
To avoid these issues, mix your dry ingredients and buttermilk separately before gently folding them into the creamed mixture. Tools like a stand mixer with a paddle attachment can help capture and maintain air without overmixing. Timing is also critical—bake as soon as your batter is ready to ensure the rise isn’t lost.
Remember, the perfect rise is all about methodical mixing and careful timing. With these tips, your cupcakes will soar to new heights!
Customizing Your Cupcake Flavor and Frosting
Now that you’ve mastered the basic gluten-free cupcake recipe, it’s time to get creative with flavors and frostings. This is where you can truly make your cupcakes unique, whether you’re aiming for a classic look or something more adventurous.
Deciding Between Chocolate or Vanilla Buttercream
The choice between chocolate and vanilla buttercream depends on the flavor profile you prefer. For a rich, decadent treat, go with a chocolate buttercream—it pairs perfectly with the subtle sweetness of your cupcakes. If you prefer something lighter, a vanilla buttercream offers a smooth, creamy contrast that complements the cake beautifully.
- For a chocolate buttercream, melt high-quality cocoa powder with a touch of milk to create a silky texture.
- Opt for a vanilla buttercream by infusing real vanilla extract into the frosting for a delicate flavor.
| Buttercream Type | Characteristics | Best For |
|---|---|---|
| Chocolate | Rich, decadent, deep flavor | Chocolate lovers |
| Vanilla | Light, smooth, versatile | Classic or fruity pairings |
Add mix-ins like sprinkles or fruit for a custom twist. Adjust frosting consistency with milk or powdered sugar to achieve your desired texture. Experiment with accent flavors like a hint of salt or extra vanilla for a unique taste. Remember, the key to a great frosting is balancing sweetness and texture with the right ingredients.
Troubleshooting tip: If your frosting is too thin, add a little powdered sugar. If it’s too thick, a teaspoon of milk should do the trick. With these tips, you’ll create cupcakes that are as delicious as they are visually appealing.
Creating a Flawless gluten free cupcake
Creating a flawless gluten-free cupcake is all about precision and attention to detail. Start by ensuring all ingredients, especially your gluten-free flour blend, are measured accurately. Room-temperature ingredients are crucial for a smooth batter, so take the time to prepare everything properly.
The creaming method is essential—blend butter and sugar until light and fluffy to incorporate air, which is vital for lift. Eggs and vanilla extract add moisture and depth, while the flour blend provides structure. Avoid overmixing to keep the batter light and fluffy.
To achieve a perfect rise, mix wet and dry ingredients separately before gently combining them. Bake immediately to prevent the batter from deflating. Proper cooling in the pan ensures the cupcakes hold their shape for frosting.
- Use high-quality ingredients for the best flavor and texture.
- Trust the process and experiment with flavors to make it unique.
With careful technique and quality ingredients, your cupcakes will be bakery-perfect, every time.
Storing, Serving, and Freezing Your Cupcakes
Now that you’ve baked your delicious cupcakes, it’s important to store them properly to maintain their freshness and texture. Whether you prefer room temperature or refrigeration, each method has its pros and cons.
Refrigeration vs. Room Temperature Storage
Room temperature storage is ideal for short-term freshness, keeping your cupcakes moist for up to 2 days. Place them in an airtight container to prevent drying out. For longer storage, refrigeration is the way to go, maintaining freshness for up to 5 days. However, refrigeration can cause cupcakes to dry slightly, so it’s best to frost them just before serving.
Freezing Tips for Long-Lasting Freshness
Freezing is perfect for preserving cupcakes long-term. Cool them completely, then place them in an airtight container or wrap individually in plastic wrap. Frozen cupcakes will keep for up to 2 months. When you’re ready to serve, thaw at room temperature or refrigerate overnight.
| Storage Method | Duration | Pros | Cons |
|---|---|---|---|
| Room Temperature | Up to 2 days | Easy, maintains moisture | Limited time |
| Refrigeration | Up to 5 days | Longer freshness | Can dry out |
| Freezing | Up to 2 months | Preserves well | Requires thawing |
For the best results, label and date your cupcakes before storing. This ensures you know how fresh they are each time you serve them. Proper storage maintains texture and keeps your cupcakes delicious for a longer period.
Conclusion
With these simple yet powerful tips, you’re ready to create gluten-free cupcakes that are moist, flavorful, and visually stunning. Remember, the key to success lies in precise measurements, proper mixing techniques, and using high-quality ingredients like vanilla extract and a well-crafted flour blend. Don’t forget to experiment with flavors and frostings to make your cupcakes truly unique!
Proper storage and serving techniques will keep your cupcakes fresh for days, whether you choose to store them at room temperature or in the fridge. For long-term freshness, freezing is a great option. Always ensure your ingredients are at room temperature for the best results, and avoid overmixing to maintain that light, fluffy texture.
Thank you for joining us on this journey into the world of gluten-free baking! We hope you’ve enjoyed learning how to create these delicious treats. If you give this recipe a try, we’d love to see your creations—tag us on social media or leave a comment below. Happy baking, and don’t forget to share your cupcakes with friends and family!