Imagine sinking your teeth into a moist, flavorful cupcake that’s as delicious as it is allergen-friendly. Whether you’re celebrating a birthday, a holiday, or just want a sweet treat, these gluten free dairy free cupcakes are perfect for any occasion. Unlike store-bought options or boxed mixes, homemade recipes offer reliability and customization, ensuring every bite is tailored to your taste preferences.
At the heart of these cupcakes is a light, fluffy texture and a delectable buttercream frosting that will leave you wanting more. Made with high-quality ingredients like gluten-free flour blends, dairy alternatives, and pure vanilla extract, these treats are both nourishing and indulgent. Plus, with practical tips like using an ice cream scoop for perfect portions and ensuring your oven temperature is just right, baking becomes a breeze.
Before you start, remember to allow your cupcakes to cool completely before frosting. This simple step ensures the best flavor and texture. In the following sections, we’ll dive into detailed step-by-step instructions, essential storage tips, and freezing advice to make your baking experience as smooth as possible.
Table of Contents
Overview and Benefits of Gluten-Free Dairy-Free Cupcakes
Discover the delight of cupcakes that cater to everyone’s needs without compromising on taste. These treats are crafted to be allergen-friendly, making them perfect for individuals with dietary restrictions. Whether you’re celebrating a special occasion or simply indulging in a sweet craving, these cupcakes offer a solution that’s both inclusive and delicious.
Why Choose Gluten-Free and Dairy-Free?
Opting for gluten-free and dairy-free options is a thoughtful choice for those with dietary limitations. These cupcakes are made with high-quality ingredients like Pillsbury gluten-free flour blend and Smart Balance butter, ensuring they are both nourishing and flavorful. The result is a light texture and a creamy frosting that rivals traditional recipes.
Perfect Occasions to Enjoy These Cupcakes
These versatile cupcakes are ideal for any celebration, from birthdays to everyday treats. Their allergen-friendly nature makes them a considerate choice for gatherings. Plus, with easy-to-follow recipes, even those new to gluten-free baking can achieve success. They also make thoughtful gifts for friends with dietary restrictions, offering a delicious and inclusive option for everyone to enjoy.

Essential Ingredients and Must-Have Tools
Ready to bake? Let’s dive into the must-have ingredients and tools that will make your gluten-free and dairy-free cupcakes a success.
Key Ingredients: Flour Blends, Spices, and Alternatives
Your recipe relies on high-quality ingredients. Start with a gluten-free flour blend like Pillsbury or Bob’s Red Mill, which includes xanthan gum for texture. Use unsalted butter or Smart Balance for a dairy-free option. Add granulated sugar, eggs, and a hint of vanilla extract for flavor. For dairy alternatives, try almond, cashew, or coconut milk.
Kitchen Tools That Make Baking a Breeze
Invest in a greased ice cream scoop for consistent cupcake portions and cupcake liners to prevent sticking. A piping bag and tip are essential for frosting, while a cooling rack ensures your cupcakes cool properly. Don’t forget a digital scale for precise measurements and a whisk for mixing.
| Ingredient/Tool | Purpose | Benefit |
|---|---|---|
| Gluten-Free Flour Blend | Provides structure | Ensures light texture |
| Unsalted Butter/Smart Balance | Adds moisture | Enhances flavor |
| Ice Cream Scoop | Portions batter | Consistent size |
| Piping Bag & Tip | Applies frosting | Professional finish |

Gluten Free Dairy Free Cupcakes: Recipe and Step-by-Step Guide
Get ready to create delicious cupcakes that everyone can enjoy. This guide will walk you through the process of preparing and baking perfect gluten-free dairy-free cupcakes.
Preparing and Mixing the Batter
Start by creaming softened butter with granulated sugar until smooth. Add eggs one at a time, mixing well after each addition. Stir in vanilla extract for a hint of flavor. In a separate bowl, combine gluten-free flour, baking powder, and salt. Gradually mix these dry ingredients into the wet batter, adding dairy or non-dairy milk to achieve the right consistency. Be careful not to overmix, as this can make the cupcakes dense.
Baking Process and Timing Tips
Preheat your oven to 350°F. Use an ice cream scoop to portion batter into cupcake liners, ensuring even sizes. Bake for 18-20 minutes, checking with a toothpick for doneness. Allow the cupcakes to cool completely on a rack before frosting.
| Ingredient/Tool | Purpose | Benefit |
|---|---|---|
| Gluten-Free Flour | Provides structure | Ensures light texture |
| Unsalted Butter/Smart Balance | Adds moisture | Enhances flavor |
| Ice Cream Scoop | Portions batter | Consistent size |
| Piping Bag & Tip | Applies frosting | Professional finish |

Decadent Buttercream and Frosting Options
Transform your cupcakes into show-stopping treats with the perfect frosting. Whether you prefer classic vanilla or rich chocolate, the right buttercream can elevate your gluten-free and dairy-free cupcakes to new heights. Let’s explore the best frosting options and tips for a professional finish.
Choosing Between Vanilla and Chocolate Frostings
When it comes to frosting, two options stand out: classic vanilla buttercream and decadent chocolate buttercream. For a timeless look, vanilla frosting offers a clean and versatile base that pairs well with any cupcake flavor. If you’re looking for something more indulgent, a chocolate frosting adds a deep, rich flavor that chocolate lovers will adore.
Mastering the Piping Technique with a Bag
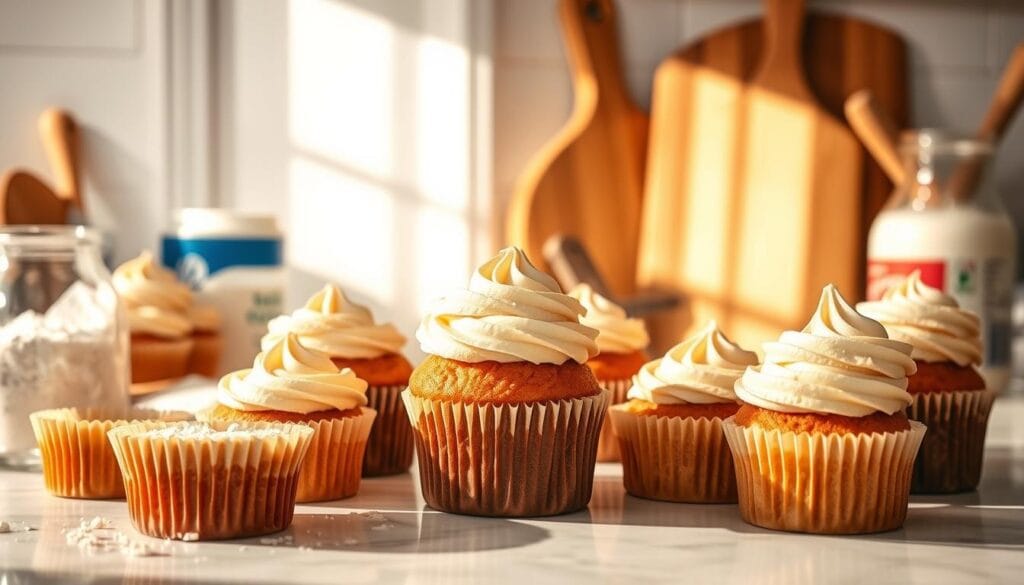
A professional finish starts with the right tools. Use a piping bag fitted with a Wilton 1M tip for swirls that look like they were made by a pro. Here’s how to get it just right:
- Cream the butter until it’s smooth and fluffy.
- Gradually mix in confectioners’ sugar until you reach your desired consistency.
- Add a splash of milk or non-dairy milk to thin the frosting if needed.
For the best results, ensure your frosting is at room temperature before piping. This ensures a smooth, even flow through the piping bag.
| Step | Action | Benefit |
|---|---|---|
| 1 | Cream butter until smooth | Creates a light base |
| 2 | Add confectioners’ sugar | Builds sweetness |
| 3 | Adjust with milk | Custom consistency |
| 4 | Pipe at room temperature | Smooth application |
Homemade buttercream offers a texture and flavor that store-bought frostings can’t match. With these tips, you’ll be piping like a pro in no time!
Creative Variations and Flavor Enhancements
Take your gluten-free dairy-free cupcakes to the next level with exciting flavor twists and decorative touches. Whether you’re celebrating a special occasion or just want to add some fun, these creative ideas will make your cupcakes stand out.
Experimenting with Flavors: Chocolate, Lemon, and Mocha
Add a rich twist by incorporating chocolate into the batter or frosting. For a bright citrus flavor, try adding lemon zest and juice. Mocha lovers will enjoy the deep taste of espresso powder mixed into the batter. These simple additions can transform your basic recipe into something extraordinary without compromising texture.
Adding Festive Touches with Sprinkles and Food Coloring
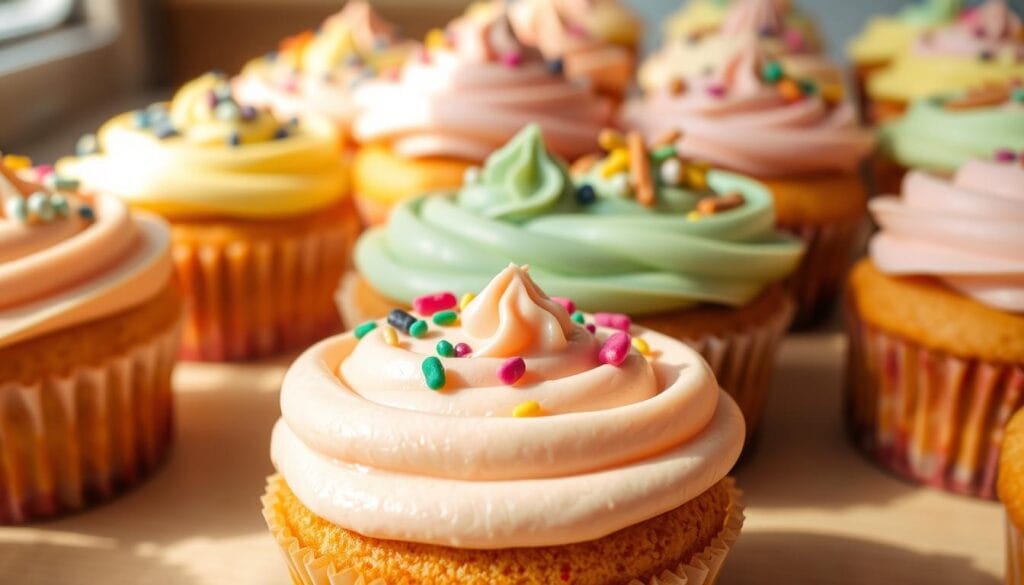
Make your cupcakes visually appealing by adding festive sprinkles or natural food coloring. Match the colors to your celebration, like pastel shades for Easter or red for Valentine’s Day. A pinch of colored sprinkles can turn a simple cupcake into a party-perfect treat.
With these creative variations, your cupcakes will be both delicious and visually stunning, perfect for any occasion.
Expert Baking Tips and Tricks
Elevate your baking game with these expert tips to ensure your cupcakes turn out perfectly every time. Whether you’re a novice or a seasoned baker, these techniques will help you achieve professional-quality results.
The Spoon & Level Method for Accurate Flour Measurement
Accurate measurements are key to achieving the right texture in your cupcakes. Use the spoon and level method to measure gluten-free flour. Spoon the flour into a measuring cup and level it off with a straight edge. This ensures you don’t pack the flour, which can lead to dense cupcakes.
Avoiding Overmixing for a Fluffy Texture
Overmixing is a common mistake that can make your cupcakes tough. Stop mixing once the ingredients are just combined. This preserves the delicate structure of the batter, resulting in a light and fluffy texture.
Essential Cooling Techniques Before Frosting
Proper cooling is crucial before frosting. Place your cupcakes on a wire rack to allow air to circulate around them. This prevents sogginess and ensures they stay light. Let them cool completely to avoid melting the frosting and to preserve the best flavor and texture.
Storage, Freezing, and Serving Suggestions
Proper storage is key to maintaining the freshness and flavor of your cupcakes. Whether you’re keeping them at room temperature or freezing for later, following the right techniques ensures they stay delicious.
Best Practices for Keeping Cupcakes Fresh
For short-term storage, keep cupcakes in an airtight container at room temperature for up to 2 days. This maintains their moisture and texture. For longer freshness, refrigerate them in an airtight container for up to 5 days.
For freezing, individually wrap each cupcake in plastic wrap or aluminum foil, then place them in a freezer-safe bag. Frozen cupcakes remain fresh for up to 3 months. Thaw at room temperature or refrigerate overnight to preserve texture and taste.
When serving, consider pairing with a warm beverage for a cozy treat. For older cupcakes, a light glaze can refresh their appearance and flavor.
Conclusion
With these simple yet elegant recipes, you can create delicious cupcakes that everyone will love. From classic vanilla to rich chocolate, these treats are perfect for any occasion. By using high-quality, allergen-friendly ingredients, you ensure that your cupcakes are both nourishing and indulgent.
Homemade cupcakes offer the advantage of customization, allowing you to cater to various dietary needs without compromising on taste. Whether you’re a novice baker or a seasoned pro, these recipes provide a reliable foundation for success. Don’t hesitate to experiment with different flavors and frosting options to make each cupcake truly unique.
Remember to follow essential tips for baking, frosting, and storing your cupcakes to achieve the best results. Proper cooling and storage techniques will keep your cupcakes fresh and flavorful. Finally, don’t forget to share your creations and experiences with fellow baking enthusiasts. Homemade cupcakes can elevate any celebration, offering a delicious and creative touch that everyone will appreciate.