Imagine biting into a moist, flavorful cupcake that’s as delicious as it is allergen-friendly. For those seeking gluten free dairy free cupcakes, the journey often starts with a mix of excitement and uncertainty. How do you create something truly special without gluten and dairy? The answer lies in quality ingredients and simple yet effective baking tips.
Using a cupcake liner can make all the difference in preventing sticking and ensuring your cupcakes bake evenly. Plus, having all your ingredients at room temperature is crucial for achieving that perfect rise. These small details can elevate your gluten and dairy-free creations from good to irresistible.
What makes these recipes stand out? They emphasize the importance of proper measurement techniques, like the spoon & level method for flour. This ensures your cupcakes are light and fluffy, not dense. By focusing on these details, you can create treats that everyone will love, regardless of dietary restrictions.
Table of Contents
Introduction: Welcome to Your Cupcake Adventure
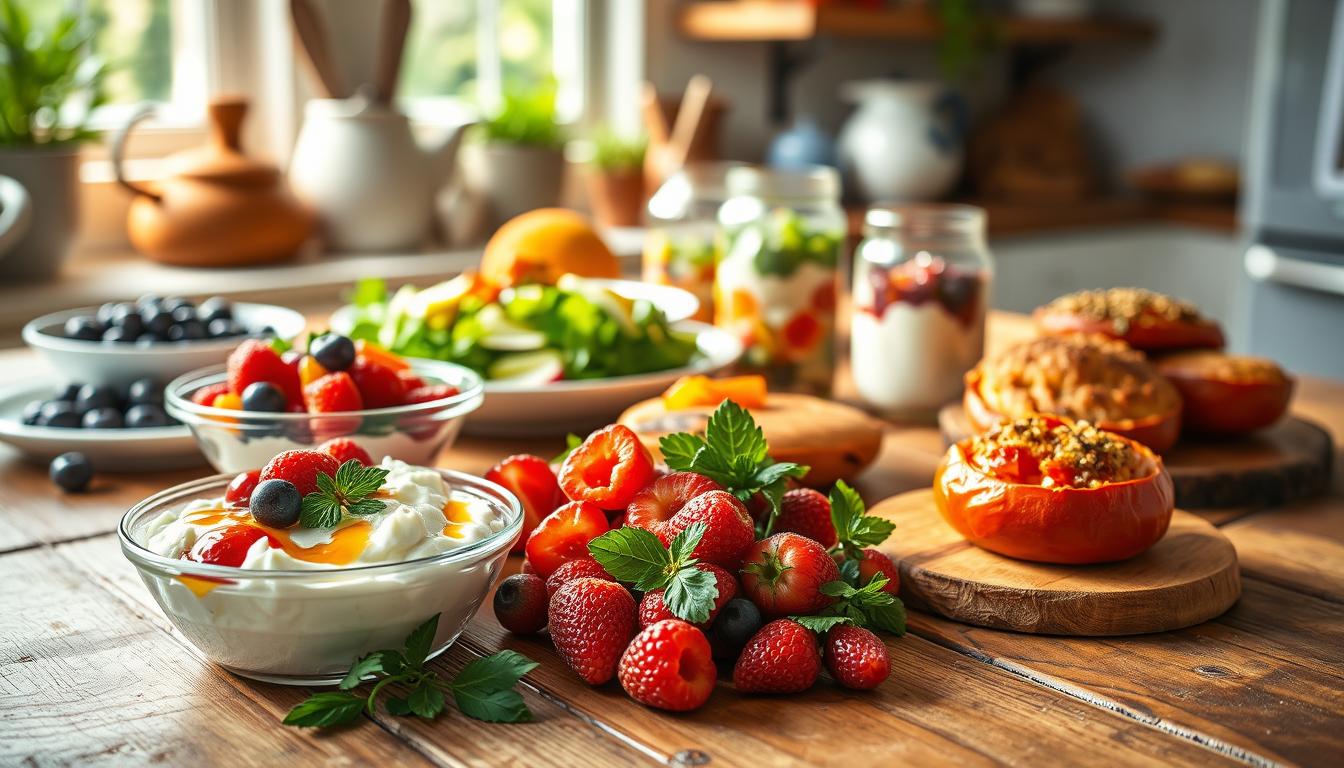
Step into the vibrant world of gluten and dairy-free cupcakes, where creativity meets deliciousness. Whether you’re celebrating a special occasion or simply satisfying your sweet tooth, these recipes are designed to impress both in taste and texture.
Discover the thrill of crafting moist, flavorful cupcakes using healthy ingredients that don’t compromise on taste. Each recipe combines classic cupcake charm with innovative twists, ensuring a delightful experience for all.
| Recipe Type | Key Features | Why It’s Special |
|---|---|---|
| Chocolate Cupcakes | Rich cocoa flavor, dairy-free chocolate | Perfect for chocolate lovers, pairs well with buttercream frosting |
| Vanilla Bean Cupcakes | Natural sweetness, light texture | Versatile base for various frostings and toppings |
| Strawberry Cupcakes | Fresh strawberry puree, vibrant color | Refreshing and fruity, ideal for spring celebrations |
Each recipe includes detailed hints and simple step-by-step instructions, making the baking process enjoyable and stress-free. Experienced bakers share their tips on creating the perfect buttercream frosting and enhancing flavors without dairy or gluten.

Understanding Gluten Free Dairy Free Cupcakes Ingredients
When it comes to baking without gluten and dairy, the right ingredients make all the difference. This section will guide you through the essentials of flour blends, xanthan gum, and dairy alternatives to ensure your treats are both delicious and allergen-friendly.
Navigating Flour Blends and Xanthan Gum
A successful gluten-free bake starts with a good flour blend. Look for a mix that includes rice flour, as it provides structure without heaviness. Brands like Bob’s Red Mill and Pillsbury offer reliable options. To enhance binding, add a pinch of xanthan gum, especially in recipes without gluten.
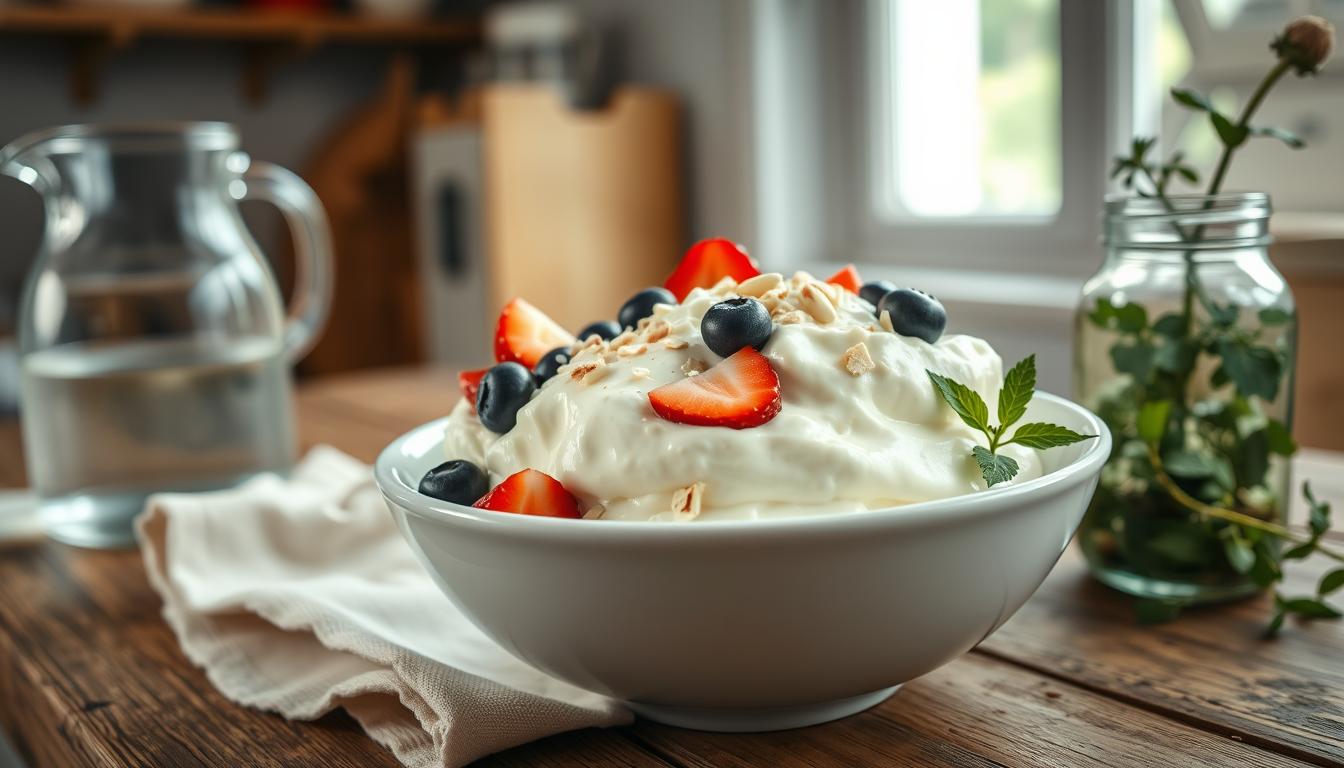
Choosing the Right Dairy Alternatives
For a creamy texture without dairy, try unsweetened almond milk or coconut milk. These alternatives add moisture and tenderness to your cupcakes. When using vanilla, opt for high-quality vanilla extract for a richer flavor profile.

By selecting the right flour blend and dairy alternative, you’ll achieve a moist, flavorful cupcake that’s hard to resist. These simple substitutions ensure your baked goods are both allergen-friendly and delicious.
Essential Tools and Preparation Techniques
Your baking tools and preparation methods can make a big difference in the final result. Whether you’re a beginner or an experienced baker, having the right tools and techniques ensures your batter is smooth and your cupcakes are perfect every time.
Mastering Measurement and Mixing
Start by gathering your tools: measuring bowls, a stand mixer, and a greased ice cream scoop for portioning batter. Room temperature butter and milk are key for a smooth batter consistency. Mix your ingredients for about two minutes to avoid overbeating, ensuring a light texture.

Perfect Preparation Tips
- Use a greased ice cream scoop to portion batter evenly.
- Let butter and milk sit at room temperature before mixing.
- Mix ingredients for two minutes to prevent overbeating.
- Cool cupcakes on a rack for even cooling and to prevent sogginess.
Precise measurements and gentle mixing are crucial for achieving the perfect cupcake texture. By following these tips, you’ll create delicious treats that everyone will love.
Gluten and Dairy Free Cupcakes: Expert Tips and Tricks
Elevate your baking game with these expert tips for creating irresistible gluten and dairy-free cupcakes. From ingredient quality to precise techniques, these insights will help you achieve perfection every time.
One of the most impactful decisions you can make is choosing between vanilla extract and vanilla bean paste. While vanilla extract adds a subtle flavor, vanilla bean paste offers a richer, more vibrant taste. For an extra boost, consider mixing both for a truly decadent experience.
Xanthan gum is another essential ingredient that improves the structure of your cupcakes. It helps bind gluten-free ingredients, ensuring your treats are light and fluffy. Use it sparingly, as too much can affect the texture.
Don’t overlook the importance of using high-quality liners. They prevent sticking and ensure even baking. Lightly grease them for extra assurance, especially if you’re using delicate batter.
When it comes to baking, precision is key. Use a spoon and level to measure flour accurately, and always have your ingredients at room temperature. These small details make a big difference in the final result.
| Expert Tips | Benefits |
|---|---|
| Use vanilla bean paste for richer flavor | Enhances taste with visible vanilla specks |
| Add xanthan gum for structure | Improves texture and prevents crumbling |
| Choose high-quality liners | Prevents sticking and ensures even baking |
| Measure ingredients accurately | Ensures consistent results |
By following these expert tips, you’ll be well on your way to creating cupcakes that are both delicious and allergen-friendly. Remember, it’s all about the details!
Step-by-Step Guide to Baking Your Cupcakes
Baking the perfect cupcakes involves more than just mixing ingredients—it’s about the process. Let’s walk through a step-by-step guide to ensure your gluten and dairy-free cupcakes turn out irresistible every time.
Prepping Your Ingredients and Equipment
Start by gathering all your tools, like measuring cups, a stand mixer, and an ice cream scoop for portioning batter. Ensure your ingredients, including eggs and flour blend, are ready. Room temperature eggs and milk are crucial for a smooth batter consistency.
Mixing the Batter with a Light Hand
Add eggs one at a time, allowing each to fully incorporate before adding the next. Gently fold in the flour blend to avoid overmixing, which can make the cupcakes dense. Remember, a light hand ensures a fluffy texture.
Baking and Cooling for Optimal Texture
Preheat your oven to 350°F (175°C) and line your muffin tin with liners. Bake for about 25 minutes, or until a toothpick comes out clean. Let the cupcakes cool on a rack to prevent sogginess. Allow them to cool completely before frosting for the best results.
Frosting Fundamentals: Creating the Perfect Buttercream
Transform your gluten and dairy-free cupcakes into show-stopping treats with a silky-smooth buttercream frosting. This section will guide you through the simple steps to create a creamy, professional-quality finish that complements your cupcakes perfectly.
Simple Steps for a Smooth, Creamy Finish
Start by creaming your butter in a large mixing bowl until it’s light and fluffy. Gradually add confectioners’ sugar, mixing until smooth. For an extra touch, incorporate a pinch of salt to balance the sweetness.
Ensure your ingredients, like butter and sugar, are at room temperature for a seamless mix. This step is crucial for achieving a light, airy texture that’s easy to pipe.
| Tools | Purpose |
|---|---|
| Electric Mixer | Ensures smooth, even mixing |
| Large Mixing Bowl | Provides ample space for creaming butter |
| Measuring Cups | Accurate sugar measurement |
When piping, use a piping bag and Wilton tips for a professional finish. Remember to make sure your buttercream is at room temperature for easy piping.
“A smooth buttercream is the perfect finishing touch for any cupcake.”
With these tips, you’ll create a buttercream that’s both delicious and visually appealing, elevating your cupcakes to the next level.
Serving and Storing Your Delicious Cupcakes
Now that your cupcakes are baked to perfection, it’s time to think about how to keep them fresh and full of flavor. Proper storage is key to maintaining their texture and taste.
Ensuring Freshness and Flavor Retention
To keep your cupcakes fresh, store them in an airtight container at room temperature. This will help maintain their moisture and texture. For longer storage, consider placing them in the refrigerator. Make sure to let them come to room temperature before serving for the best flavor.
If you plan to freeze your cupcakes, place them in an airtight container or freezer bag. When you’re ready to enjoy them, simply thaw at room temperature or in the refrigerator. This method ensures your treats stay delicious for weeks.
Remember, the right temperature and storage conditions are crucial for preserving the blend of flavors in your cupcakes. By following these tips, you can enjoy your creations for a longer period while maintaining their quality.
- Store cupcakes in an airtight container at room temperature for up to 3 days.
- Refrigerate for up to 5 days to preserve freshness.
- Freeze for up to 2 months and thaw as needed.
Variations and Creative Flavor Twists
Ready to take your gluten and dairy-free cupcakes to the next level? It’s time to explore creative twists that make your treats truly special. Whether you’re celebrating a holiday or just want to surprise your taste buds, these ideas will inspire you to think outside the box.
Adapting Recipes for Special Occasions
Why settle for ordinary when you can create something extraordinary? Add a few drops of food coloring to match your theme, or sprinkle festive toppings like glitter or themed sprinkles. For example, red and pink sprinkles can turn your cupcakes into Valentine’s Day treats, while orange and black frosting works perfectly for Halloween.
Another easy way to customize is by adding unique flavors. Try mixing in a teaspoon of espresso powder for mocha cupcakes or fold in fresh berries for a fruity twist. These small changes can make your cupcakes stand out at any gathering.
Practical Decorating Tips
Transform your cupcakes into showstoppers with simple decorating techniques. Use piping to create intricate designs or swirls. For a professional finish, experiment with different cream textures, like whipped cream or rich buttercream. These details make your cupcakes both visually appealing and delicious.
Remember, the key to easy customization is to keep it simple. Whether you’re adding a drizzle of chocolate or sprinkling shredded coconut, small touches can make a big impact. With these tips, you’ll be able to create cupcakes that are as unique as you are.
Troubleshooting Common Baking Challenges
Every baker faces challenges, especially when working with gluten and dairy-free recipes. Let’s tackle some common issues and how to solve them.
One frequent problem is overmixed batter, which can lead to dense or collapsed cupcakes. To avoid this, mix wet and dry ingredients separately and gently fold them together until just combined. This technique ensures a light texture.
Another issue is overfilled cupcake liners causing overflow. Use a piping bag to portion batter evenly, leaving about 1/4 inch of space at the top. This prevents mess and ensures even baking.
- Baking powder is crucial for rise. Too much can cause cupcakes to collapse, so measure it accurately using a digital scale.
- A piping bag helps control batter portions, preventing overflow and ensuring consistent sizes.
- For flavor balance, use 1-2 tablespoons of extract depending on the recipe. Start with a small amount and adjust to taste.
By addressing these common challenges, you can achieve professional-looking and delicious treats every time. Happy baking!
Reader Tips and Success Stories
Join a vibrant community of bakers who share their experiences and tips for creating irresistible treats. This section is all about you—your stories, your triumphs, and your creative twists.
Your Personal Baking Experience
Many of you have already discovered the joy of gluten and dairy-free baking. What’s your favorite recipe? Have you found a way to make a chocolate cake that’s moist and flavorful? Share your story and inspire others!
- Try adding a teaspoon of espresso powder to deepen the flavor of your chocolate cake.
- For an extra-light texture, ensure your powder is freshly sifted.
- Don’t forget to use high-quality gum to improve structure in gluten-free recipes.
Every baker has a unique journey. Whether you’re a seasoned pro or just starting out, your experiences can help others achieve their baking goals.
Community Insights and Recommendations
The baking community is full of creativity and support. Here are some tips shared by fellow bakers:
- Gum helps bind ingredients, but use it sparingly to avoid a sticky texture.
- Sift your powder before mixing for a smoother batter.
- Experiment with flavors—like adding a hint of orange zest to your chocolate cake.
“Baking is a journey, not a destination. Every batch is a chance to learn and grow.”
These insights highlight the power of community in the kitchen. By sharing your tips and learning from others, you become part of a creative, supportive group that celebrates baking as an art.
Conclusion
With these simple yet effective tips, you’re ready to create irresistible treats that everyone will love. From using a scoop to portion batter evenly to ensuring your bag is ready for frosting, every detail matters for the perfect result. Don’t forget the role of xanthan in achieving a light texture and preventing crumbling.
Remember, the key to success lies in proper preparation and quality ingredients. Whether you’re using a scoop for batter or a bag for frosting, the right tools make all the difference. A pinch of xanthan and careful measurement ensure your result is nothing short of amazing.
Feel confident to experiment with these recipes and share your triumphs with the community. Happy baking, and don’t hesitate to revisit this guide for inspiration on your next culinary adventure!